Welcome to Octopus Moving Company | Massachusetts, Rhode Island, North Carolina
Welcome to Octopus Moving Company | Massachusetts, Rhode Island, North Carolina

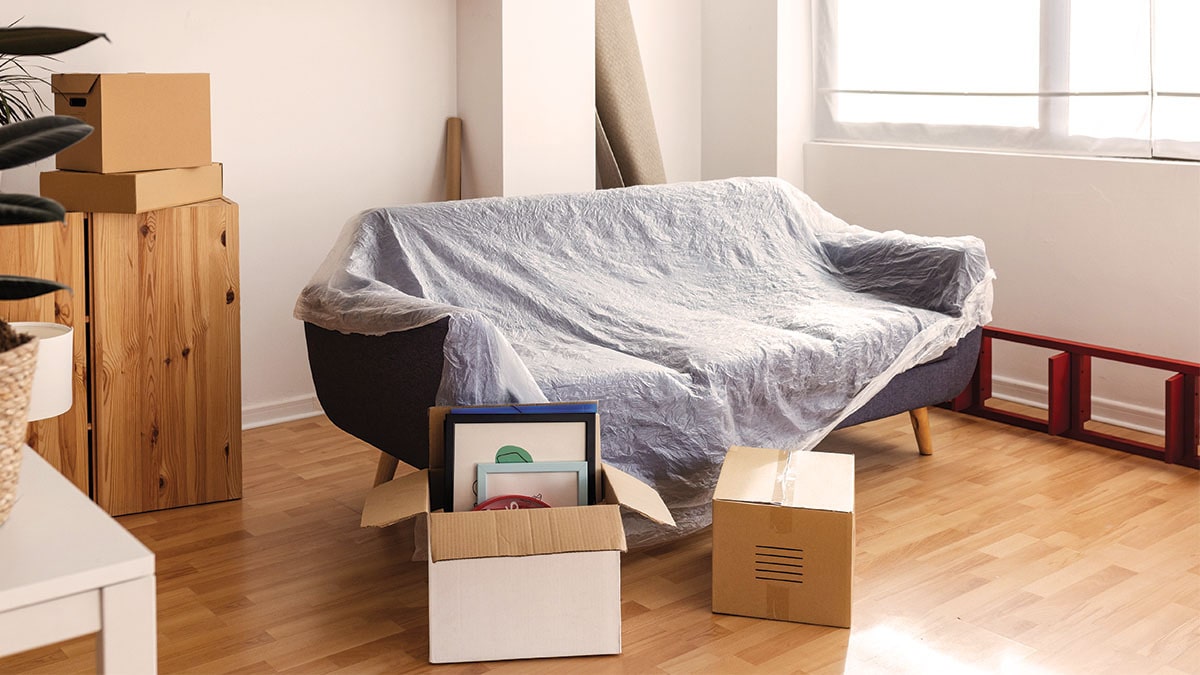
Moving day is coming, and there it sits: your favorite couch. Comfortable, heavy, and roughly the size of a small boat. If you’ve ever tried to wrestle a full sofa through a standard 32-inch doorway, you already know it doesn’t go well. Scuffed walls, a bent frame, a pulled muscle, and a lot of bad language usually follow.
The good news is that most couches are built to come apart. Once you know where the fasteners hide and which pieces separate, taking a sofa down to manageable parts is a lot less intimidating than it looks. This guide walks you through the whole process: how sectionals and standard frames differ, the hardware you’ll run into, a step-by-step breakdown, when you should leave the couch fully assembled, and how to put everything back together in your new place.
Before you grab a screwdriver, it helps to know why this is worth the effort. Taking a couch apart isn’t just about squeezing it through a tight hallway (though that alone is often reason enough). There are a few real advantages:
It saves space in the truck. A disassembled couch packs flatter and stacks better, which can mean fewer trips or a smaller, cheaper truck.
It navigates tight spots. Individual arms, cushions, and frame sections turn corners and clear doorways that a full sofa never could.
It prevents damage. Separated parts are far less likely to catch on a door frame, tear on a nail, or crack under their own weight during the lift.
It’s easier on your back. A single couch can weigh 100 to 250 pounds. Broken into pieces, each part is lighter and safer to carry, which means fewer dropped ends and mashed fingers.
Whether you’re moving a basic three-seater or a sprawling six-piece sectional, disassembly usually turns the hardest item in your home into one of the more manageable ones.
Not all couches come apart the same way, and knowing what you’re working with before you start will save you a lot of guesswork. Broadly, you’re dealing with one of two builds.
A standard sofa (a loveseat, three-seater, or settee) is usually one continuous frame. The parts that come off are the legs, sometimes the arms, and occasionally the back panel. Everything else, including the seat deck and internal springs, is typically fixed. On many standard sofas, the “disassembly” is really just removing the legs and cushions to slim it down by a few inches and shave off some weight. That’s often enough to clear a doorway.
Some higher-end or knock-down (KD) sofas are built to separate more fully, with removable arms and a detachable back. These are the easiest of the standard frames to move because they break into flat, luggable panels.
Sectionals are designed to come apart, which is a genuine advantage on moving day. They’re built as separate seat modules (typically two to six of them) that lock together with connecting brackets. Once you release those connectors, a sectional becomes several smaller couches, each of which is much easier to carry than the whole unit.
The catch is that sectionals hide their connectors underneath and between the seat modules, so you have to know where to look. Recliner sectionals and power (electric) sectionals add another layer, since they include mechanisms, and sometimes motors and wiring, that need to be handled carefully.
Here’s the quick version of how they compare:
| Feature | Standard Frame | Sectional |
|---|---|---|
| How it separates | Legs, sometimes arms/back | Into separate seat modules |
| Main hardware | Bolts, screws, leg mounts | Connector brackets, clips, sometimes bolts |
| Difficulty | Easy to moderate | Moderate (more pieces, more connectors) |
| Watch out for | Fixed seat deck, stapled fabric | Power/recliner mechanisms, wiring, heavy modules |
If you’re not sure which you have, flip up a seat cushion and look at the seam where two seating areas meet. If you can see a bracket, clamp, or gap between distinct modules, you’ve got a sectional.
Half the battle of couch disassembly is recognizing what’s holding it together. Manufacturers use a handful of common fasteners, and once you can identify them, the right tool becomes obvious. Here’s what you’re likely to find.
Bolts (usually hex/Allen). The most common heavy-duty fastener, used to attach arms and connect frame sections. Most take a hex (Allen) key, though some use a socket. These are your main targets on a knock-down sofa.
Wood or machine screws. Phillips or flathead screws often hold legs, brackets, and trim in place. You’ll find these on leg mounts and along the underside of the frame.
Connector brackets and clamps (sectionals). These are the metal fittings that lock sectional modules together. The most common types are the “hook and bracket” style, where one module has a plate that drops into a hook on the next, and the twist- or slide-lock style. Usually you lift or slide one module up and away from the other to release it. No tools required on many models.
Cam locks. A round disc-shaped fitting (common on flat-pack and IKEA-style furniture) that you turn a half-rotation to release. A flathead or Phillips screwdriver does the job.
Barbed or push-in clips. Plastic or metal clips that snap the back panel onto the frame. These usually pull straight off with firm, even pressure. Look along the top rail of the backrest.
Staples. Not something you remove during normal disassembly, but worth recognizing. Upholstery is stapled to the frame. If you find yourself reaching for a staple remover, stop and double-check, because pulling fabric staples means you’re taking apart something that’s meant to stay together.
Threaded leg mounts. Many legs simply screw into a threaded plate. Turn counterclockwise and they back right out. Others are bolted on and need a wrench.
Tip: keep your phone handy and snap a photo of each fastener before and after you remove it. When it’s time to reassemble, you’ll be glad you have a visual record instead of a vague memory.
Think of this like prepping for minor surgery on your furniture. Having everything within reach before you start means you won’t be hunting for an Allen key with a sofa arm balanced on your knee.
Here’s the kit that covers almost every couch:
If you’re working on a power (electric) recliner sofa, add wire cutters only if a cable must be cut (rare), plus electrical tape and a few zip ties to bundle and protect the wiring once it’s disconnected. Most power couches use simple plug-in connectors that separate by hand, so you usually won’t cut anything.
A little setup goes a long way here.
Clear a path and a workspace. Give the couch room on all sides so you can move around it and set parts down without knocking into anything. Then clear the route from the couch to the door in advance. There’s nothing worse than freeing a heavy sofa arm and realizing you have nowhere to put it.
Strip it down first. Remove all loose cushions, throw pillows, and covers. This is also when you’ll rescue the lost remote, a fistful of change, and possibly a snack from a previous era. Set the cushions somewhere clean and dry.
Cut the power. If you have a power recliner or sofa with USB ports or lights, unplug it from the wall and disconnect any battery packs before you touch anything else. Trace the power cable so you know where it runs.
Take a “before” photo. One good picture of the fully assembled couch gives you a reference for how it all fits together.
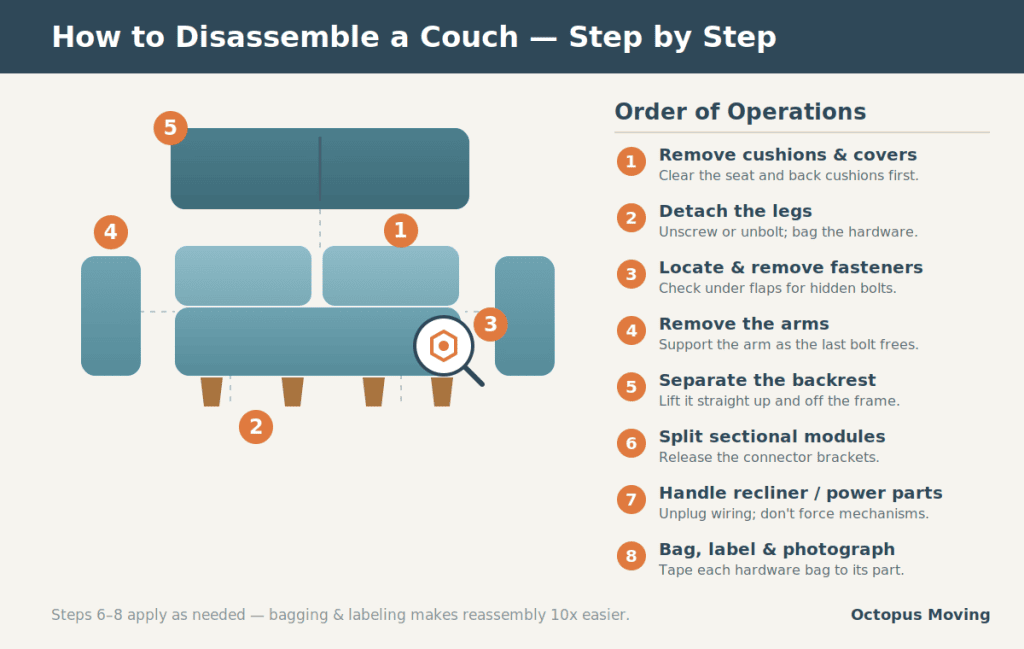
Every couch is a little different, so treat this as the general roadmap and adjust as you go. Work methodically and don’t force anything: if a part won’t move, there’s almost always a hidden fastener you haven’t found yet.
You’ve likely done this already during prep. Bag or band the cushions together and keep any zippers or ties intact.
Flip the couch onto its back or side (get a helper for this) and look at the leg mounts. Threaded legs unscrew counterclockwise by hand or with a wrench. Bolted legs need a hex key or socket. Drop the hardware straight into a labeled bag so nothing rolls away.
With the couch tipped up, shine your flashlight along the frame, under the arms, and behind the back panel. Feel under the fabric flaps and dust covers, since fasteners are often tucked just out of sight. Loosen the fabric edges gently where needed rather than tearing them.
On sofas with detachable arms, the arms usually come off next and they’re often the easiest part. Support the arm with one hand as you remove the last bolt so it doesn’t drop. Set it aside and bag its hardware separately, labeled “left arm” and “right arm.”
The back panel is often held on with barbed clips or brackets along the top rail. Lift straight up, since many backs are designed to slide off vertically once the arms are clear. If it resists, check for screws or clips you may have missed. A firm, even pull usually does it; a violent yank does not.
For a sectional, this replaces much of the frame work above. Reach between two connected modules and find the bracket where they join. Depending on the style, you’ll either lift one module up and off the hook, or slide it sideways to release a locking plate. Work one connection at a time and keep helpers ready, since some modules are heavy and awkward on their own.
For manual recliners, avoid disassembling the reclining mechanism itself unless absolutely necessary. It’s spring-loaded and can pinch. For power recliners, disconnect the wiring at the plug-in couplers (they pull apart by hand), then coil and tape the cables so they don’t snag. Label which cable goes to which module.
As each fastener comes out, bag it, label the bag with painter’s tape (“back panel screws,” “right arm bolts”), and snap a photo. Tape the bag directly to the part it belongs to if you can. This one habit is the difference between a smooth reassembly and an hour of trial and error later.
Disassembly is the right call most of the time, but not always. Taking a couch apart when you shouldn’t can void a warranty, break the frame, or leave you with parts that never fit back together the same way. Leave the couch assembled if any of these apply:
It fits through the door as-is. If you can clear the exits by just removing the legs and cushions, don’t go further. Every fastener you remove is one more you have to get right on the other end.
It’s a fully upholstered, one-piece frame with no removable parts. Many standard sofas aren’t built to come apart. If the arms and back are stapled and glued rather than bolted, forcing them apart means tearing upholstery and cracking the frame. That’s a repair bill, not a shortcut.
It’s under warranty and the manufacturer says not to. Some warranties are voided if you disassemble the frame or reclining mechanism. Check the documentation first.
It has a complex power or reclining mechanism you’re not comfortable with. Power sofas hide motors, wiring, and tensioned parts. If you’re unsure, moving the module intact is safer than risking the mechanism.
It’s an antique or high-value piece. Older joinery can be fragile, and a valuable couch is not the place to experiment. Professional movers can crate and pad these without taking them apart.
You don’t have the manual or any idea how it connects. If you can’t find fasteners and nothing obviously separates, that’s often a sign it isn’t meant to. Forcing it usually ends badly.
When in doubt, measure your doorways and the couch first. If the numbers say it fits with cushions and legs off, save yourself the trouble.
Once the couch is in pieces, protect each part like it matters, because a scratched arm or torn cushion defeats the whole purpose.
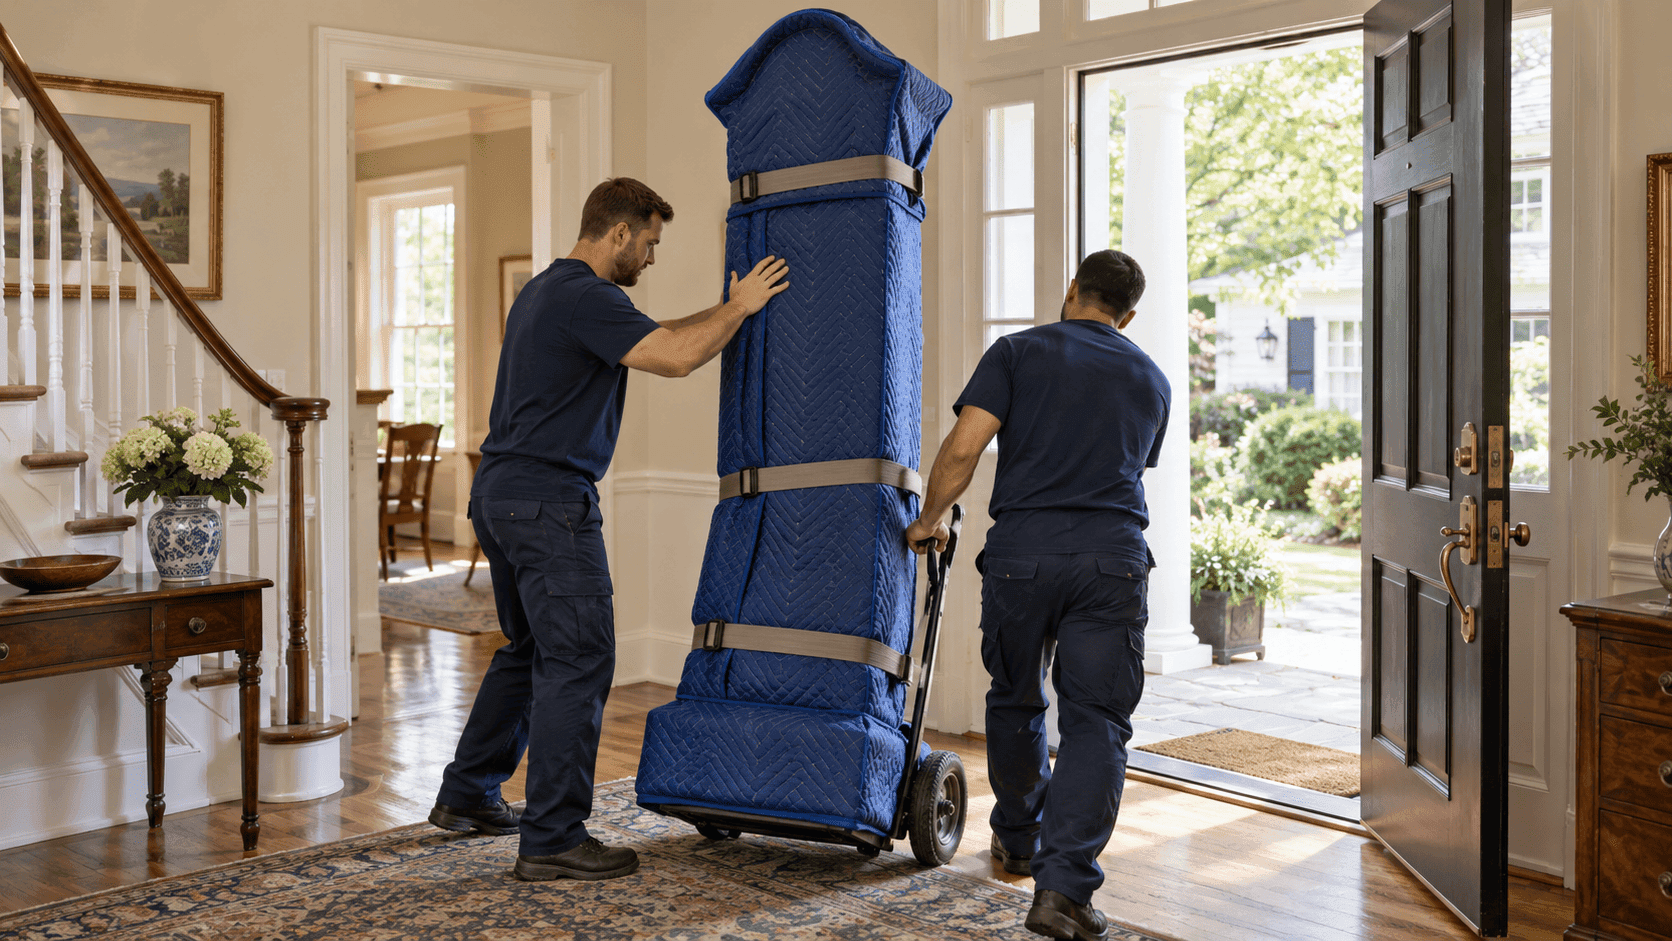
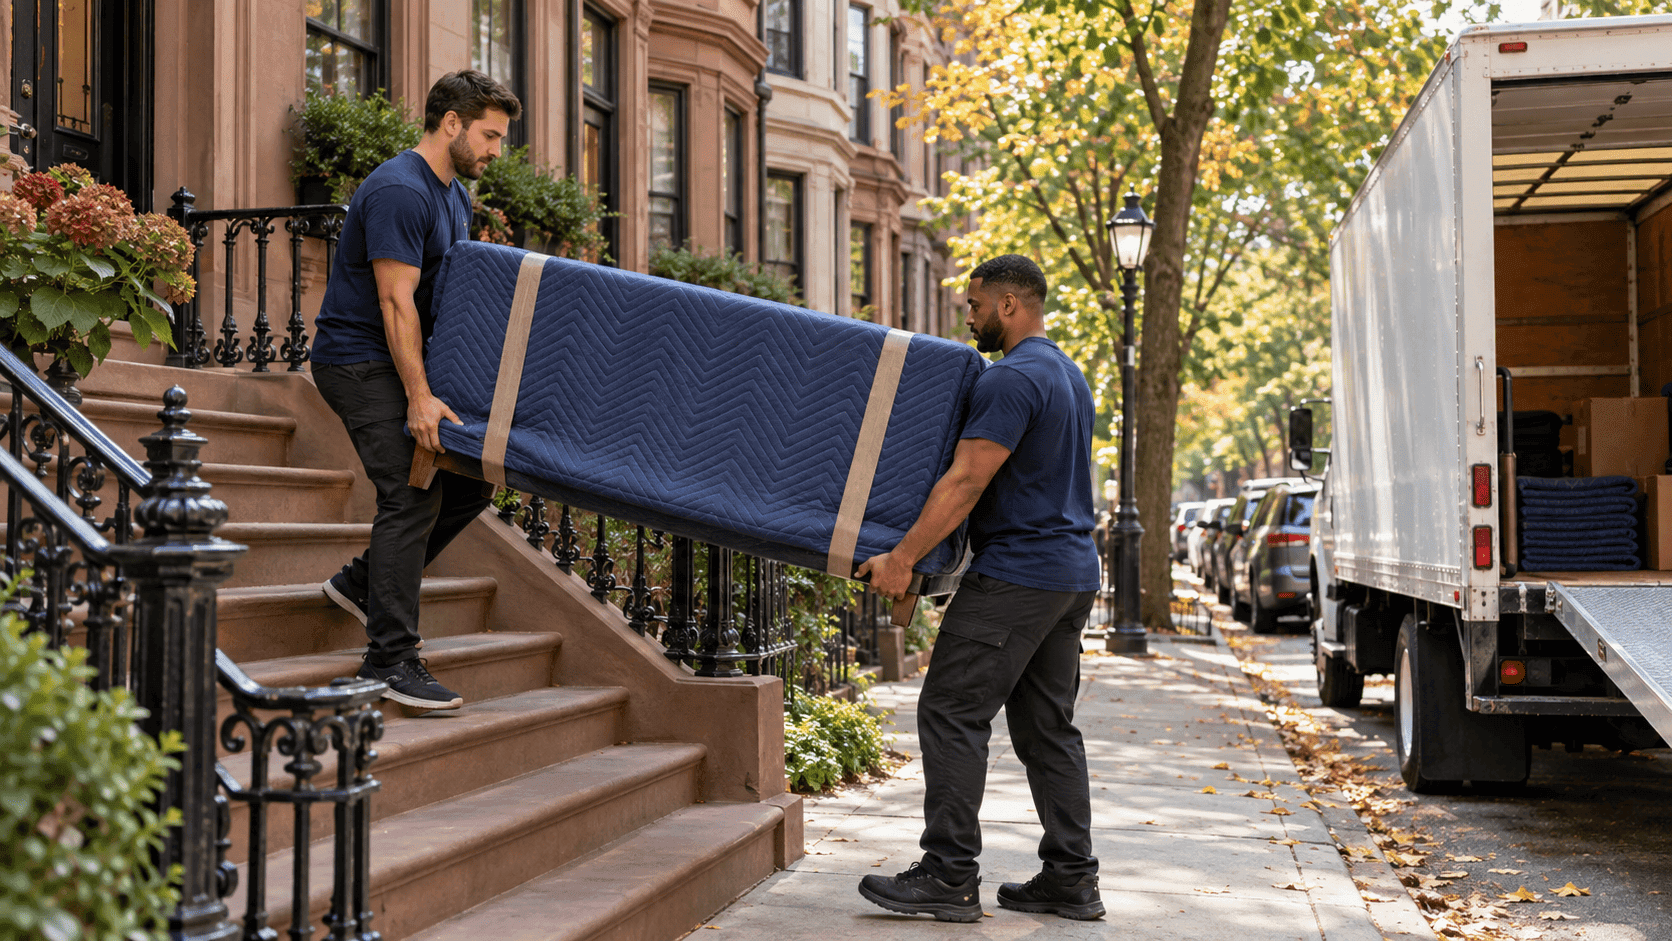
Wrap each frame section and arm in a moving blanket, then secure it with stretch film (never tape directly on upholstery, since it leaves residue and can lift fabric). Bubble wrap the corners and any exposed hardware or feet. Slide cushions into large plastic bags or wrap them together to keep them clean. Keep all your labeled hardware bags in one clearly marked box or, better yet, taped to their parts so nothing gets separated from the couch it belongs to.
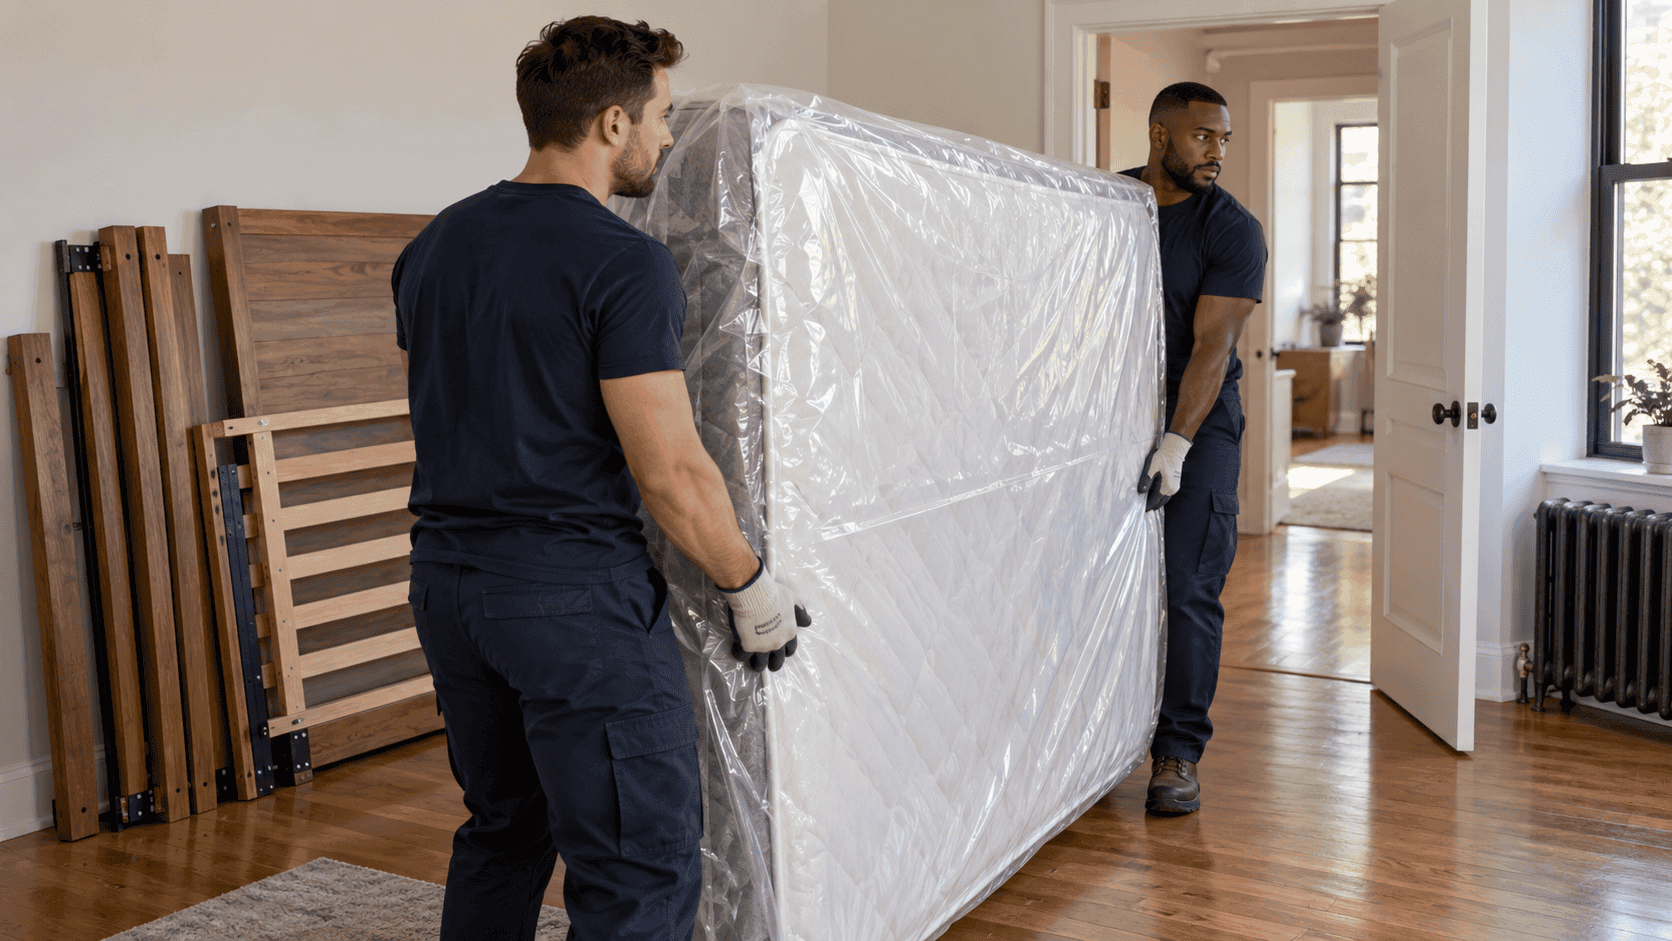
Loading a disassembled couch is a bit like Tetris, and the goal is a snug, stable load with nothing shifting in transit. Stand the flat frame sections upright against the wall of the truck to save floor space, the same way you’d load a mattress. Put the heaviest pieces low and toward the front, cushions and lighter parts on top. Use moving blankets between pieces so nothing rubs. Don’t stack heavy items on cushions, and don’t let loose parts slide around; strap everything down.
Reassembly is disassembly in reverse, and it goes smoothly if you were disciplined about labeling. A few tips to make it painless:
Build in the room where the couch will live. Reassembling on-site saves you from carrying a rebuilt sofa through the house a second time. Decide where it goes, then put it together there.
Start with the frame, then add the soft parts. Reattach the back and arms to the main frame first, then the legs, and add cushions last. Work from the skeleton outward.
Use your labels and photos. This is the payoff for all that bagging and photographing. Match each hardware bag to its part and follow your pictures in reverse.
Snug everything, then tighten. Start every bolt by hand and get all of them seated before you fully tighten any one of them. This keeps the holes aligned. Once everything lines up, tighten in stages so the frame settles evenly. A couch that wobbles usually just has bolts that were tightened out of order.
Test as you go. After each section, give it a gentle push to check that it’s solid. Sit-test the finished couch before you call it done, and re-check the connectors on a sectional after the first day of use, since they can settle.
Get a second pair of hands. Holding an arm in place while you start the bolts is a two-person job. It’s faster and safer with help.
Disassembling a couch is absolutely doable, and now you know exactly how to spot the hardware, take it apart safely, and put it back together without a wobble. But moving day is long, and a stubborn sectional or a power recliner full of wiring can eat up hours you don’t have.
That’s where we come in. Octopus Moving is one of the top-rated moving companies in Boston, with 500+ five-star Google reviews and glowing ratings across Yelp, Facebook, and Thumbtack. Our crews disassemble, pad, load, transport, and reassemble your furniture, so you can skip the Allen wrenches and the back strain entirely.
Ready for a move without the muscle ache? Get a free, no-obligation quote from Octopus Moving today, and let our team take your couch (and everything else) from your old place to your new one, fully assembled and ready to sink into. Consider your heaviest headache handled.